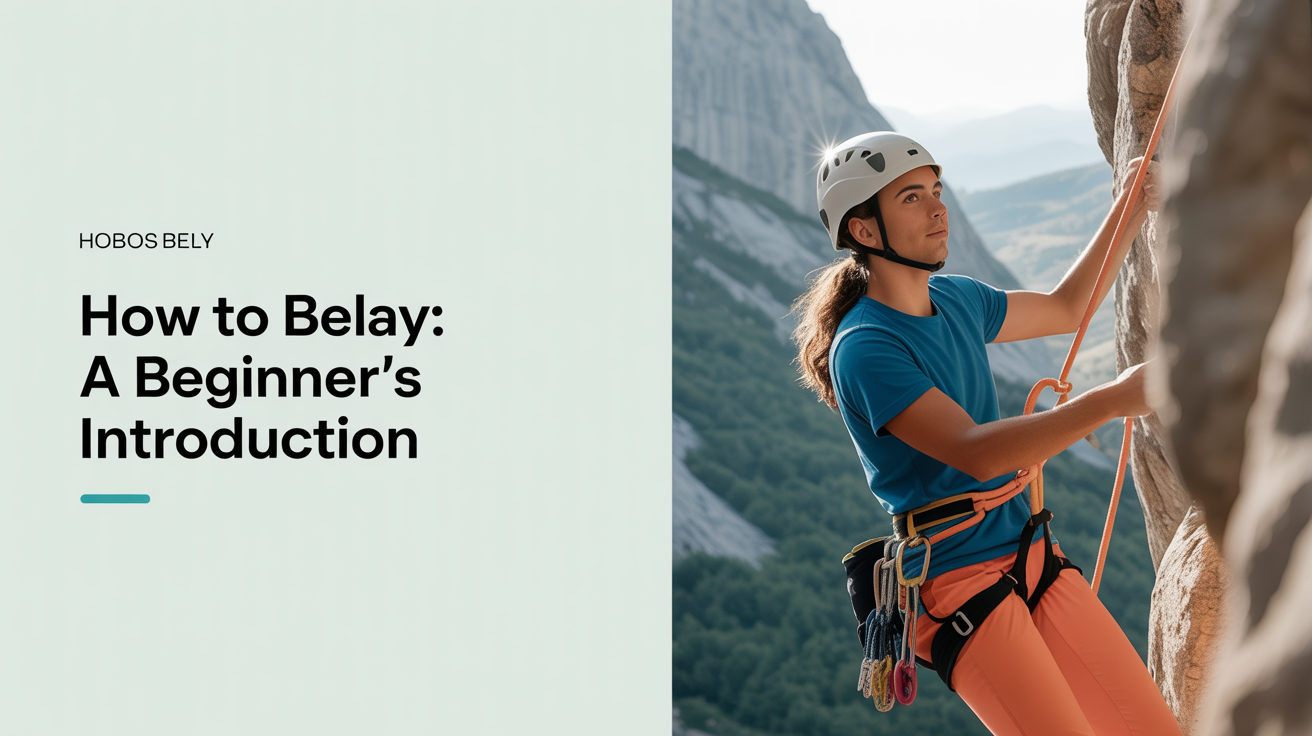
How to Belay: A Beginner's Introduction
Learn what belaying is, how it protects a climber, and why you must practice with a qualified instructor before belaying anyone at the gym.
Belaying is one of the most important skills in climbing, and one of the most responsible. When you belay, you are holding the rope that protects your partner if they fall. That is not a small thing. This article will explain what belaying is, what the core concepts look like, and why every beginner must learn it hands-on from a qualified instructor and pass a gym belay certification before touching the rope for real.
Read this to orient yourself. Then go to a gym and learn it in person. There is no shortcut.
What Belaying Actually Means
Belaying means managing the rope to keep your climbing partner safe. You stand at the base of the wall, feed rope through a belay device attached to your harness, and use that device to control the rope.
On a top-rope setup, the rope runs from the climber, up through an anchor at the top of the wall, and back down to you. As the climber moves up, you take in the slack so the rope stays reasonably taut. If they fall, you hold the rope and the device locks the rope in place. When they want to come down, you lower them in a slow, controlled descent.
That is the whole picture in simple terms. But the mechanics require real instruction to execute safely.
The Brake Hand: The One Rule That Matters Most
Every concept in belaying comes back to one absolute rule: your brake hand never leaves the rope. Not to scratch your nose, not to wave at a friend, not for any reason while the climber is on the wall.
Your brake hand is typically your dominant hand, positioned below the belay device. When you pull it down toward your hip, the rope locks off and the climber is held. If you let go, the system fails. Belay devices are designed to assist you, not to replace you. The brake hand is the last line of defense, and it must always be there.
This is not a guideline. It is the foundational safety principle of belaying. A qualified instructor will drill it into you repeatedly during your lesson, and rightly so.
The PBUS Method for Taking In Rope
When a climber moves upward, you need to keep taking in the slack so the rope does not pile up below them. One widely taught method for doing this smoothly is called PBUS: Pull, Brake, Under, Slide.
Here is what each step means at a high level:
- Pull, pull the rope through the device with your guide hand
- Brake, drop your brake hand to the braking position while the rope is locked
- Under, bring your guide hand under to grip the rope below the device
- Slide, slide your brake hand back up to its original position, keeping contact with the rope throughout
The goal of PBUS is to ensure your brake hand stays on the rope through the entire cycle. There is no moment in a correct PBUS sequence where you let go.
Reading that description is not enough. You will need to practice this motion under supervision until it becomes automatic. A belay course at a gym typically takes an hour or two, with hands-on coaching and a practical test at the end. That is where the real learning happens.
Lowering a Climber
When the climber is ready to come down, you do not simply let go. You slowly feed the rope back through the device in a controlled way, keeping tension throughout. A good lower feels smooth and steady to the climber. Releasing too fast, or giving an uneven lower, is uncomfortable at best and unsafe at worst.
Again, the technique for lowering is something you practice with an instructor watching. The feel of the device under different loads, the pace that feels right, the communication with your partner, these are things you develop with real reps, not by reading a description.
The Buddy Check Before Every Climb
Before a climber ever leaves the ground, both partners run through a quick safety check together. This takes less than a minute and catches the kinds of mistakes that can turn a normal gym session into a serious incident.
A standard buddy check covers four areas:
- Harness, is it buckled correctly, with doubled-back buckles where required? Is there no twisting?
- Knot, has the climber tied in with a figure-eight follow-through, and is the knot dressed neatly and backed up with a stopper knot? See our guide to tying the figure-eight follow-through knot for a full walkthrough.
- Belay device, is the rope threaded correctly through the device and the carabiner?
- Carabiner, is the carabiner locked, gate closed and screwed or clicked shut?
Both partners check both systems. You check your partner's tie-in. They check your belay setup. Two sets of eyes catch mistakes one set misses. Read more about this in our dedicated guide to the buddy check.
Running this check is a habit, not a chore. Experienced climbers do it every single time without thinking about it, and you should build the same reflex from day one.
Climbing Commands: How Belayer and Climber Communicate
Climbing has a short vocabulary of verbal commands that both partners need to know and use consistently. These calls remove ambiguity at moments when clear communication matters most.
Here is how a typical top-rope session opens:
- "On belay?", The climber asks the belayer if they are set and ready.
- "Belay on.", The belayer confirms the system is set and they are attentive.
- "Climbing.", The climber announces they are about to move.
- "Climb on.", The belayer gives the go-ahead.
During the climb, the climber may call:
- "Take", Hold the rope tight; I want to rest or let go.
- "Slack", Give me a little more rope; it feels too tight.
- "Lower me", I am done; bring me down.
And the belayer responds clearly to each request before acting.
These calls sound simple, but using them every time builds the communication loop that keeps both people informed and in sync. Our article on climbing commands every beginner should know covers them in more detail, including what to do if commands are hard to hear in a noisy gym.
Staying Attentive as a Belayer
Good belaying is not a passive activity. While your partner climbs, your job is to watch them, manage the rope, and be ready to hold a fall at any moment. That means:
- Keeping your eyes on the climber, not your phone
- Staying close to the wall base, not drifting far back
- Taking in slack steadily as they move up
- Keeping your brake hand in position at all times
A fall can happen without warning. The belayer needs to be present and focused so the catch is clean, not catching up to a situation already in progress.
How to Get Belay Certified at a Gym
Every climbing gym that offers top-rope or lead climbing requires belayers to pass a belay check before they can belay on their own. The process varies slightly by gym, but it generally looks like this:
- Sign up for a belay lesson or course (usually one to two hours)
- Work with an instructor who teaches the brake hand principles, PBUS technique, lowering, and commands
- Practice with a sandbag or a patient volunteer partner under supervision
- Pass a practical belay check with a staff member watching
- Receive your belay certification, which is linked to your membership
The certification is not a formality. It is the gym's way of ensuring that every belayer on the floor meets a minimum standard of safety. Take the lesson seriously, ask questions, and practice until the movements feel natural.
Do not skip this step. Do not ask a friend to teach you informally and then belay without going through the gym's process. The certification exists for good reason.
A Note on Learning Pace
New belayers sometimes feel overwhelmed trying to absorb all of this at once. That is completely normal. The physical coordination of taking in rope, staying in position, and watching your partner simultaneously takes practice to feel smooth.
Be patient with yourself. The first few sessions with a new belay partner feel a bit mechanical. Over time, the individual pieces stop feeling like separate tasks and start feeling like one fluid thing. Most people feel genuinely comfortable after a handful of sessions with a patient partner and attentive practice.
What matters most in the beginning is getting the fundamentals right, brake hand always on, buddy check every time, clear commands, rather than doing everything quickly or looking polished.
FAQ
Can I learn to belay from a YouTube video or an article like this one?
No. Written explanations and videos can help you understand the concepts before your lesson, and that orientation is genuinely useful. But belaying requires hands-on practice with real rope, a real device, and a real instructor watching your technique. The brake hand position, the feel of the rope under load, the timing of a lowering sequence, these are physical skills that only develop through practice. Always complete a gym belay course and pass the belay check before belaying anyone.
How long does it take to learn to belay?
Most gyms offer belay lessons of one to two hours. That is enough time to learn the basics and pass a certification test. Getting comfortable and confident takes longer, usually several sessions of active practice. Give yourself a few weeks of regular belaying before you feel like it has clicked.
Do I need my own belay device to learn?
Not right away. Most gyms provide belay devices to rent during lessons. Once you decide you want to belay regularly, buying your own device makes sense. Ask your instructor or gym staff for recommendations that suit your weight, your partner's weight range, and the type of climbing you plan to do.
What is the most common beginner mistake in belaying?
Taking the brake hand off the rope. It happens most often when a new belayer gets comfortable and stops thinking consciously about it, or when they reach up to adjust the rope with both hands. Your instructor will watch for this and correct it. Stay conscious of your brake hand throughout every session, especially when you are distracted or tired.
Can I belay outdoors once I have a gym certification?
A gym certification covers top-rope belaying in a controlled indoor environment. Outdoor climbing introduces additional skills and hazards: setting up anchors, managing rope outdoors, handling longer falls, environmental conditions. Do not assume your gym certification translates directly to safe outdoor belaying. Before climbing outside, seek out a guide or experienced mentor who can teach you outdoor-specific systems in person.