Bouldering for Beginners: A Complete Starter Guide
New to climbing? Learn how bouldering works, what gear you need, how to read a problem, fall safely, and make the most of your first gym sessions.
Bouldering is climbing stripped back to its simplest form: short walls, colored holds, and a thick foam pad between you and the floor. No ropes, no harness, no partner required. You show up, put on shoes, and climb. That combination of low barrier and immediate feedback is exactly why bouldering is the most popular entry point into climbing right now, and why a first session in a gym rarely feels like the last.
This guide walks you through everything you need for a confident first visit, from gear to grades to landing safely. One important note: reading about bouldering is useful preparation, but it does not replace hands-on time with a qualified instructor. Many gyms offer free or low-cost beginner orientations, and they are worth doing.
What Bouldering Actually Is
Bouldering means climbing short, steep problems, typically between eight and fifteen feet tall, without a rope. Instead of clipping into protection, you climb over a thick crash pad that cushions falls. Gym pads are dense foam, usually twelve to eighteen inches deep, and they cover the entire floor beneath the wall.
A "problem" is a single marked route up the wall. Each gym colors the holds or tags them so you know which ones belong to the problem you are trying. You climb from a marked start hold to a marked top-out hold (or a finishing jug at the lip of the wall). That's it.
Because the walls are low and the gear requirement is minimal, bouldering is genuinely accessible. You do not need a partner to catch you, and you do not spend your first session learning rope systems. You can arrive alone, rent shoes at the front desk, and start climbing within minutes. That is a real advantage over top-rope or lead climbing, which both require belaying skills before you can climb independently.
The Gear You Need (And It Is Not Much)
For your first few sessions you need exactly two things: climbing shoes and chalk.
Climbing shoes are the single most important piece of gear. They have a sticky rubber sole that grips textured holds in ways that regular sneakers cannot. Most gyms rent them at the front desk. Rental shoes tend to run a half-size or full size small, so size up slightly if you are between sizes. Your foot should feel snug but not painful. When you buy your own pair later, a neutral last (flat sole, rounded toe) is far more comfortable for beginner feet than an aggressive downturned shoe.
Chalk dries the skin on your hands and improves grip. Gyms usually require a chalk ball or loose chalk in a bag rather than a block, since blocks leave a mess. Some gyms sell chalk at the desk; others require you to bring your own.
That is the complete gear list for bouldering. No harness, no belay device, no carabiner. If you plan to try top-rope or lead climbing later, that list grows considerably, but for bouldering sessions you can keep things simple for as long as you like.
How a Bouldering Session Works
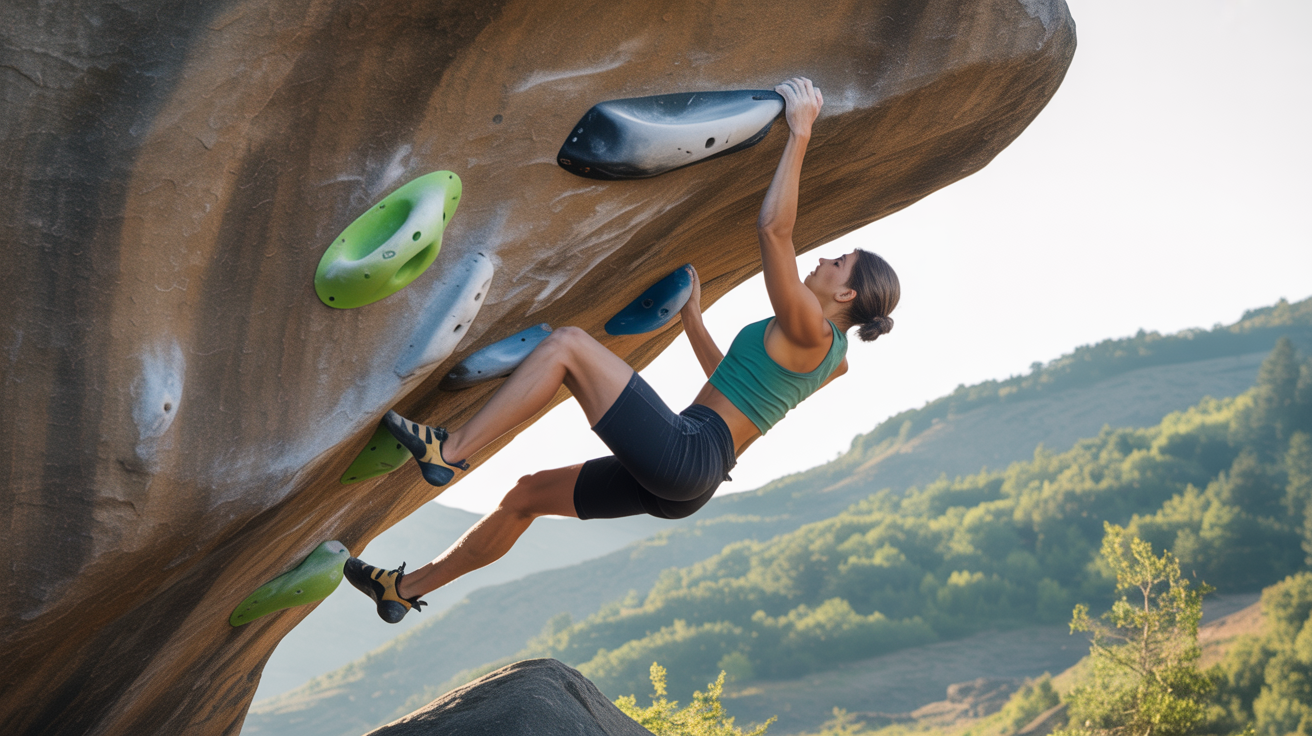
Walk into any bouldering gym and the layout follows a predictable pattern: wall sections angled at different steepnesses (slabs that lean away from you, vertical walls, and overhangs that lean toward you), foam floor everywhere, and problems marked by hold color or a small tag attached to each hold.
A good first session looks something like this:
- Warm up before you climb hard. Five to ten minutes of light movement, some shoulder circles, and a few easy traverses (climbing sideways along the bottom of the wall without going high) gets blood into the muscles and tendons. Finger tendons in particular warm up slowly, and a cold-pull injury on your first visit can sideline you for weeks.
- Start on the easiest grades. Look for VB or V0 problems (more on grades below). They will feel too easy, and that is fine. Climbing easy problems in good style teaches you more than falling off hard ones repeatedly.
- Spend time on each problem. Read it from the ground first, find where the handholds are, think about where your feet should go. Climb it more than once even after you send it (climber-speak for completing a problem).
- Rest between attempts. Tendons and skin both fatigue faster than muscles. If your forearms feel pumped and your skin feels raw, sit down for a few minutes.
- Cool down at the end. A few minutes of gentle stretching, especially for the fingers and forearms, helps recovery.
Most gyms set new problems on a rolling schedule, so the walls always have fresh challenges at every grade. That keeps sessions interesting well beyond the beginner phase.
Reading a Bouldering Problem
Every problem in a gym is marked so you know which holds to use. The marking system varies slightly by gym, but the general idea is consistent: holds of one color (or holds with a matching tag) belong to a single problem, and you use only those holds from start to finish.
A few things to look for before you pull off the ground:
The Start Holds
Most gyms mark the starting holds with a small colored tape tick or a "S" tag. You begin with both hands on the designated start holds, feet off the ground or on marked footholds. Some problems require you to match both hands on a single hold; others give you two separate starting positions.
The Finish Hold
The top hold (or finishing jug) is usually marked with a tape tick as well. Reaching and controlling it with both hands counts as a successful send on most indoor problems. On problems that go over the lip of the wall, "topping out" means standing up on top fully.
The Path Between
This is where the real puzzle lives. Bouldering problems reward climbers who look ahead. Before each move, notice where the next hold is, where you can step your feet, and which direction the hold is shaped to be gripped. This is called reading a problem, and it is a skill that improves steadily with experience.
The V-Scale: How Bouldering Grades Work
The V-scale (also called the Hueco scale after the climbing area where it was developed) runs from VB, the easiest, up through V0, V1, V2, and so on. The scale has no hard ceiling; elite outdoor problems reach V17. For a first-time climber, the relevant range looks like this:
- VB: Beginner-friendly. Large holds, simple movement, nothing steep. Designed so someone with no climbing experience can complete them.
- V0: Still beginner territory, slightly more technical footwork required.
- V1 to V2: Early intermediate. Moves may require a bit more reach or body positioning.
- V3 to V4: Intermediate range for most recreational climbers.
- V5 and above: Increasingly demanding technique, strength, and problem-solving.
One important caveat: V-grades are not perfectly standardized. A V2 in one gym might feel like a V3 in another, depending on how the setter builds problems and how the gym calibrates its scale. That inconsistency can feel disorienting, but it smooths out once you climb in enough different places.
For a deeper look at how the grading system works and how to use it as a training tool, see the full breakdown in bouldering grades explained.
How to Fall and Land Safely
Falls are part of bouldering. You will fall, probably on every session, including the first one. Learning to fall well is one of the most useful things you can do in your first few visits, and it is worth treating it as an actual skill rather than an afterthought.
The two most common mistakes:
Landing stiff-legged or straight-armed. Both send force directly into joints instead of letting muscles absorb the impact.
What to do instead:
- Keep your knees slightly bent when you land. Let them flex on impact to absorb the force.
- Resist the instinct to throw your hands out to catch yourself. Wrist and collarbone injuries often happen this way. Let your feet and legs hit first.
- On bigger falls, you can let your body roll to one side to spread the impact across a larger area.
- Try not to land on your heels with legs completely straight. That is the most reliable way to hurt a knee.
Practicing controlled falls from low on the wall during warm-up, where the drop is short and the pad is right beneath you, builds the muscle memory you want before you are falling from height. Many gyms cover falling technique in their beginner orientation. Take that orientation if yours offers it, and pay attention to this section. For a full walkthrough with technique details, read our guide on how to fall safely while bouldering.
Spotting Another Climber
Spotting is not catching. A spotter's job is to guide a falling climber's hips toward the pad and prevent them from landing on their head or neck. You are not trying to hold the full weight of someone falling.
If you are spotting a friend:
- Stand close behind and slightly to the side of the climber.
- Keep your hands up, palms facing their lower back and hips.
- If they fall, redirect their fall toward the center of the pad, not the edge.
- Step back once they're committed to a secure foothold.
Spotting is especially useful on steep overhangs where a falling climber might swing out away from the wall.
Beginner Tips for Your First Sessions
Use Your Feet
The single biggest difference between a beginner and an intermediate climber is foot placement. Beginners tend to grip holds with their hands and haul themselves up using arm strength alone. This works briefly, but arms fatigue fast and the technique does not scale.
Better climbers keep their weight over their feet, stand up on holds rather than pull to them, and use their legs for most of the work. Watch experienced climbers in the gym and notice how deliberate and quiet their footwork is. They step onto holds precisely, not just somewhere in the vicinity.
Rest Before You Need To
It feels counterintuitive to sit down when you are still able to climb, but climbing to complete failure every session slows your progress and increases injury risk. A rough rule: if you have finished a problem and your forearms feel tight, rest for at least two to three minutes before your next hard attempt.
Do Not Force Progress on Fingers
Finger tendons take months and years to adapt to climbing stress, much longer than muscles do. Hangboarding, campus rungs, and aggressive finger training are tools for intermediate and advanced climbers whose tendons have already developed baseline strength. Starting those exercises in your first weeks is a reliable route to a pulley injury. Stick to climbing varied problems at moderate intensity and let your fingers catch up over time.
Talk to People
Climbing gyms have a notoriously friendly culture. If someone is working a problem near you, it is completely normal to watch, ask what sequence they are trying, and share beta (information about how to do a move). Most people are happy to help. If you are stuck on something, asking "have you climbed this one?" will almost always start a useful conversation.
FAQ
Do I need to book a session in advance?
Most bouldering gyms allow walk-ins during regular hours. Some have capacity limits on busy evenings, so checking the gym's website before a Friday night visit is worth doing. First-time visitors often need to sign a waiver, which can usually be done online before you arrive.
How long does a beginner session last?
One to two hours is a reasonable window for a first session. Your forearms will likely reach capacity before your motivation does. As your fitness and skin toughness build over several weeks, sessions naturally extend.
Is bouldering safe for kids?
Many gyms have dedicated youth programs and family areas with lower walls. The main considerations are supervision, appropriate shoe fit, and adult instruction on falling technique. Check with your specific gym about age requirements and supervised youth sessions.
Do I need to take a class first?
It depends on the gym. Some require a brief orientation before letting new members climb independently. Others are open access. Either way, an orientation is worth doing even if it is optional. Staff can walk you through falling technique, gym etiquette, and how to read the problem markings in about fifteen minutes, and that context makes the first session much more productive.
What should I wear?
Comfortable athletic clothing that allows a full range of motion in your hips and legs. Avoid jeans, which restrict movement, and very baggy pants, which can snag on holds. Many climbers wear leggings or athletic shorts. There is no special shirt requirement beyond something you can move freely in.
The Climbing Primer is an independent resource not affiliated with any gym or brand. Bouldering carries an inherent risk of injury. This article is educational and is not a substitute for in-person instruction from a qualified coach or gym staff member. Learn falling technique and gym safety practices in person before climbing independently.