Crash Pads and Outdoor Bouldering Gear
Learn what a crash pad is, how hinge and taco styles compare, how to place pads for a safe landing, and what other outdoor bouldering gear you need.
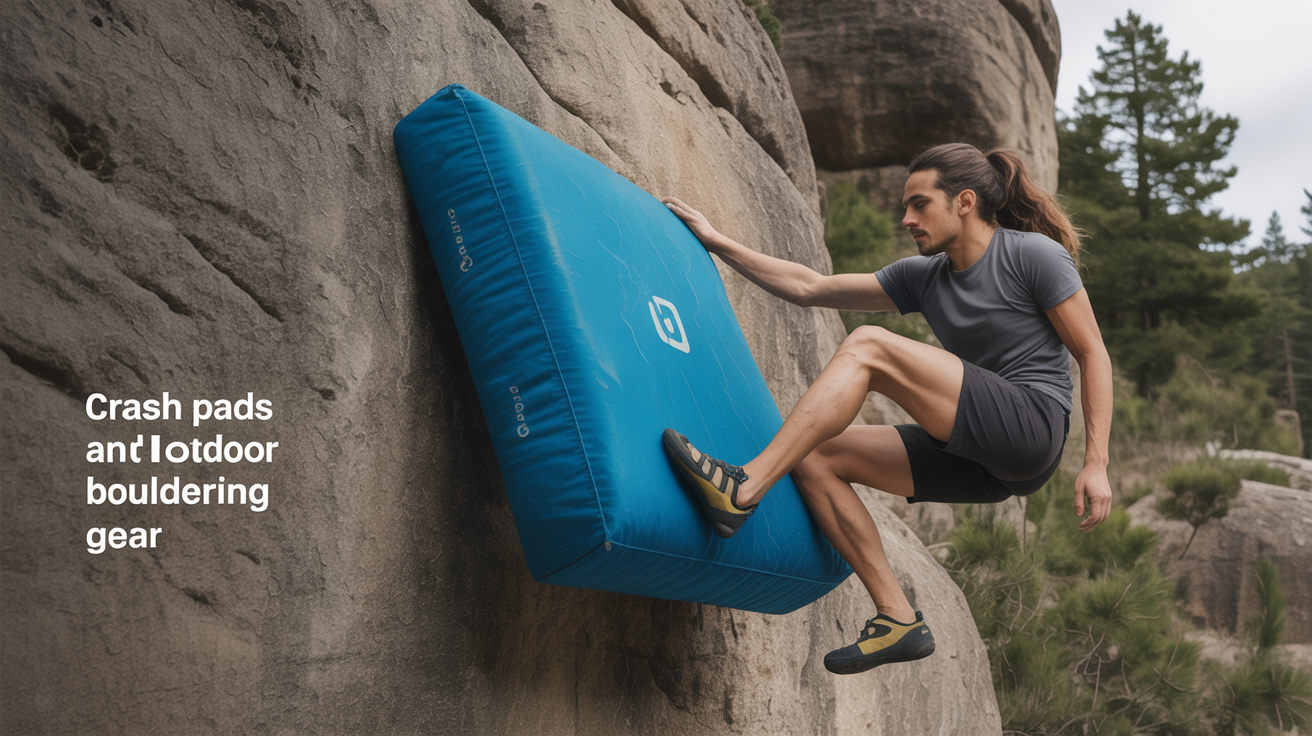
Bouldering outdoors adds a dimension that a gym can't replicate: uneven ground, rock texture that changes with humidity, and a landing zone you have to prepare yourself. A crash pad is the single most important piece of outdoor bouldering equipment you can own, and learning to place one correctly matters far more than its brand. This guide covers what crash pads are made of, how to choose one, how to set it up under a problem, and what else belongs in your pack when you head outside.
Before anything else: landing and falling safely on outdoor terrain is a skill you need to learn in person, alongside experienced climbers who can guide your pad placement and spotting. This article gives you the vocabulary and concepts; it does not replace that mentorship.
At a Glance
- A crash pad is a two-layer foam mattress: soft open-cell foam on top to absorb impact, firmer closed-cell foam underneath to stop you bottoming out.
- Hinge, taco, and baffled designs all trade off flatness, weak points, and packability differently, none is objectively best for every situation.
- Pad placement matters more than pad brand: cover the likeliest fall zone, eliminate hard spots, and account for the swing away from the wall.
- One pad is a bare minimum. Outdoor boulderers typically combine two or three pads from different people in a group.
- A spotter doesn't catch you, the pad does. The spotter's job is redirecting your fall onto the pad and protecting your head and neck.
- Crash pads used outdoors are built differently from gym pads, and most gyms don't allow their pads to leave the building anyway.
What a Crash Pad Actually Is
A crash pad is a folding foam mattress designed to absorb the impact of a fall from a boulder problem. Most pads have two layers of foam with different densities. The top layer is open-cell foam that compresses on impact and returns to shape quickly, cushioning the shock. The bottom layer is closed-cell foam, which is firmer and prevents you from "bottoming out" when you land hard. Together they manage a fall that might be three to five meters, depending on the problem.
Pads are also built to fold and carry. They attach to your back using padded shoulder straps and a waist belt, which matters when you're hiking a kilometer or more over uneven trail to reach a crag. Crash pads themselves are a relatively recent addition to the sport. As Wikipedia's overview of bouldering notes, purpose-built foam bouldering mats only became common in the 1980s, and their availability is a big part of what let climbers start attempting problems on terrain that would have been considered too dangerous to try beforehand.
Hinge vs. Taco vs. Baffled Designs
The way a pad folds determines how flat it lies when open and how well it covers irregular ground.
Hinge pads fold in half along a spine. When open, the two halves lie flat and butt together cleanly. This creates a consistent surface and makes it easy to place multiple pads edge to edge. The gap at the fold is the one weak point: if you land directly on the hinge, your foot can slip into it. Newer hinge designs minimize this with overlapping foam flaps.
Taco pads fold by rolling one edge down to meet the other, so the pad curves rather than creases. When open they lie flat without a hinge gap, which some climbers prefer. The trade-off is that carrying straps often attach to one side, making the loaded shape slightly awkward compared to a standard backpack.
Baffled pads use foam cut into interlocking sections rather than a simple two-layer sandwich. The baffles spread impact laterally rather than funneling it straight down, which can feel more forgiving on off-axis falls. They tend to be heavier and more expensive.
| Design | Lies flat when open | Main weak point | Typical weight/cost | Best fit |
|---|---|---|---|---|
| Hinge | Yes, edge to edge | Gap at the center fold | Moderate | General use, easy to combine with other pads |
| Taco | Yes, no gap | Awkward carry shape when loaded | Moderate | Climbers who dislike any fold-line gap |
| Baffled | Mostly, some seam texture | Heavier to hike in | Higher | High or awkward-fall problems, deep pad stacks |
For most beginners, a mid-size hinge pad in the 100cm x 140cm range and around 10cm thick is a sensible starting point. It covers enough ground to matter, folds down to a manageable carry size, and is made by several established brands. Avoid making a purchase decision based on price alone; foam quality degrades with age and UV exposure, so a worn-out secondhand pad can offer surprisingly little protection.
Placing a Crash Pad for a Real Landing Zone
Pad placement is where theory meets rock, and it's where outdoor bouldering demands experienced guidance. The ground under a boulder problem is rarely flat. You'll encounter slopes, embedded rocks, tree roots, and gaps. A pad placed without thought can make a landing worse, not better.
A few principles that experienced climbers apply:
Cover the likeliest landing first. Most falls on a boulder problem happen from the same one or two moves. Watch where your partners fall or talk to locals about where the crux is. Your primary pad should sit under that zone.
Eliminate hard spots. If there's a root or small rock under where you'll land, either move the pad until it clears it or stuff a jacket underneath to bridge the gap. Landing on an unsupported edge of a pad can roll an ankle as effectively as landing on the bare root.
Account for the swing. When you fall from height, you don't drop straight down; your body swings toward the wall. Pads placed tight to the base of the rock often miss where you actually land. Step back from the wall and estimate the arc.
Use multiple pads. One pad is a minimum for many problems, not a complete system. Climbers at an outdoor area typically combine two or three pads owned by different people in a group. This is one reason outdoor bouldering is genuinely better as a social activity: more pads, better coverage.
If you're new to outdoor bouldering, go with people who have experience at the crag you're visiting. Pad placement is learned by watching others work out the variables at a specific problem, not by reading about it. More on staying safe when landing can be found in how to fall safely while bouldering.
Spotting Alongside Crash Pads
A crash pad handles vertical landing impact, but it doesn't stop you from landing sideways, twisting, or rolling off the edge. That's the spotter's job.
A spotter doesn't catch you; the pad catches you. The spotter guides your fall so that you land on the pad rather than beside it, and protects your head and neck from hitting rock or hard ground during the initial landing. Hands go up, palms out, ready to redirect a sideways trajectory. Spotters stay engaged for the entire attempt, not just the first move.
Good spotting is a skill in itself. For a full introduction to the relationship between falling, landing, and partner support, read bouldering for beginners: a complete starter guide.
Where You're Allowed to Boulder
Outdoor bouldering areas sit on public land, whether National Park Service land, national forest, state park, or Bureau of Land Management ground, and each has its own rules about access, closures, and permitted activity. Some areas restrict climbing seasonally to protect nesting raptors; others close specific boulders permanently to protect sacred or culturally significant sites. Joshua Tree National Park, for example, requires permits for placing, replacing, or removing any fixed climbing anchors, and closes certain zones outright to protect sacred sites, with unpermitted bolts subject to removal.
Before visiting a new area, check the local land manager's website or a current guidebook for closures, and follow posted signage even if it means walking further to find an open problem. This is not optional etiquette, it is frequently a legal requirement, and ignoring it is a real threat to continued climbing access at popular areas.
Other Outdoor Bouldering Gear Worth Carrying
Beyond the crash pad, outdoor bouldering involves a small but specific kit.
Climbing shoes. Your gym shoes will work, but outdoor rock tends to reward a slightly stiffer sole that can edge on small crystals or features. Once you've climbed outside a few times you'll know what you prefer. Bring your gym shoes on the first trip and rent or borrow isn't an option; outdoor crags rarely have shoe rental.
Chalk and chalk bag. The same chalk you use indoors works outdoors. Some climbers switch to loose chalk over a chalk ball outdoors because outdoor sessions tend to be longer and wetter hands are more common. A chalk bucket (a wide-mouthed bag that sits on the ground) is common at outdoor areas because you don't need to clip it to your harness.
A brush. Rock holds accumulate tick marks from chalk and skin oils, which can actually make them more slippery over time. A stiff-bristled brush, usually made from natural fiber or soft nylon, is used to clean holds before attempting a move. Wire brushes are damaging to rock and are not acceptable at any established crag.
Approach shoes or trail runners. Most outdoor bouldering areas require a hike to reach the problems. A comfortable pair of hiking-appropriate shoes for the approach saves wear on your climbing shoes and protects your feet on uneven trail.
A guidebook or topo app. Outdoor problems are identified by name, grade, and a drawn diagram called a topo. Paper guidebooks exist for most established areas; apps like Mountain Project or The Crag serve a similar function. Grades at outdoor areas are independent from gym grades and are set by consensus over time. For context on how outdoor grades work, see bouldering grades explained: the V-scale.
Water and sun protection. Outdoor sessions run longer than gym sessions, and exposure adds up faster than you expect at elevation or in open terrain. General outdoor safety guidance from the National Park Service applies directly here: know the route, check the weather, and plan for the session running longer than you expect, since a crag with no shade and a slow approach can turn a two-hour session into a much longer commitment.
Outdoor Bouldering Pack Checklist
| Item | Why it matters | Skip it if... |
|---|---|---|
| Crash pad(s) | Primary fall protection | Never skip; borrow if you don't own one yet |
| Climbing shoes | Precision on small holds | Never skip |
| Chalk bag or bucket | Grip in variable outdoor humidity | Rarely worth skipping |
| Brush | Cleans holds of tick marks and grit | Optional on a first visit, useful after |
| Approach shoes | Comfort and traction on the hike in | Only if the approach is a short, flat walk |
| Guidebook or topo app | Finding problems and knowing grades/closures | Never skip at an unfamiliar area |
| Water and sun protection | Outdoor sessions run long and exposed | Never skip |
| First-aid basics | Twisted ankles and scraped skin are common | Optional for a short trip with a large group nearby |
Frequently Asked Questions
How thick does a crash pad need to be for outdoor bouldering? Most purpose-built crash pads fall between 8cm and 15cm total foam thickness. Thicker is generally more protective for high problems, but also heavier and bulkier to carry. For problems up to about four meters, a mid-range pad around 10cm is adequate when placed correctly and supplemented by a spotter. The limiting factor for most beginners is not pad thickness but pad placement.
Can I use a gym crash pad outdoors? Gym crash pads are designed for flat, controlled flooring and repeated low falls. They tend to be thinner and are not built to carry on your back. Outdoor crash pads have foam matched to the range of fall heights you'll encounter outside and carry systems that work over trail terrain. Using a gym pad outdoors is not recommended, and gyms generally don't allow them to leave the facility.
How many crash pads do I need? One pad is the minimum, but one pad rarely covers an entire problem's landing zone on uneven ground. Most outdoor boulderers combine two or three pads. If you're new to outdoor bouldering, going with a group where others bring pads is the practical way to start before investing in your own.
Do I need special shoes for outdoor bouldering? No special shoes are required to start. Any gym climbing shoe works. Over time you may prefer a slightly stiffer or more aggressive shoe for outdoor rock, but that decision can wait until you've logged some sessions and have a sense of the terrain you prefer.
Is it safe to boulder outdoors alone? Bouldering alone outdoors carries significantly more risk than bouldering with partners. A bad landing with no spotter and no one to assist if you're injured is a serious situation in a remote location. New outdoor boulderers should go with experienced partners until they have a solid understanding of pad placement, spotting, and the specific risks at the crags they frequent.
How do I know if a boulder or area is closed to climbing? Check the land manager's website (National Park Service, national forest, state park, or BLM office, depending on the location) before you go, and look for posted signage at the trailhead or parking area. Closures are sometimes seasonal, to protect nesting birds, for example, and sometimes permanent, to protect sensitive or culturally significant sites. Local guidebooks and climbing organization websites are usually kept current on closures for popular areas.